The work of our service is supported by Samsung TVs and BD-players with support for SmartTVs released from 2012 to 2014 (E, ES, F, FS, H, HS, HU). On 2015 models (J, JS, JU series), installation is possible only if the firmware version is not older than 1400.
Installing a Widget can be done in two ways:
1. Using a USB stick:
- Download Widget MyMagic TV .zip
- Unpack the zip archive of the widget into a new folder MyMagic TV .zip
- Copy the folders with the contents to a USB flash drive.
- Insert the USB stick with the widget into the turned off TV, BD player or home theater.
- Turn on the device and enter the SMART HUB.
- The widget should appear in the general list.
2. Using Sync Server in Developer Mode:
This installation method is different for different model years. Below is a quick guide for each of the supported model years.
-
Login as user «develop»:
Press the button on the remote control SMART HUB
Press the red button (A) to enter
Enter your username: develop
The password will appear automatically
Click OK. You are in Develop -
Add a new IP address:
Press the “TOOLS” button, then at the very bottom select “Settings”
In the next window, select the last line “Development” and click ok
Then go to the “Server IP address settings” and enter the IP address of our service to install 46.148.26.227
Click “Synchronize User Applications”
Applications will be installed
Exit the installation to the menu, press the red button “A” in order to exit the user profile Develop
Be sure to leave Smart HUB, otherwise the applications may not appear, and go back in.
-
Login as user «develop»:
Press the button on the regular Menu remote control (or the Misc button on the touchscreen, use the arrows to move to the Menu button on the on-screen remote control)
Select the menu item “Smart Functions”
We choose “Uch. app. Samsung “, select” Login “
We introduce “El.p.”: develop
Check “Remember password”
Click “Login”
Exit the menu -
Add a new IP address:
Push the button «Smart Hub»
Selecting “Additional Applications”
Selecting “Options”
Select the menu item “IP Settings” and Enter the IP address of our service for installation 46.148.26.227
Selecting a menu item «Start App Sync»
If necessary, restart the TV
-
Login as user «develop»:
Opening the TV Menu
Select the item “Smart Hub”, then “Samsung Accounts”, then “Login”.
In the menu that appears, select “Login”.
In the window that opens, enter the develop login, the password is not needed
Click Login. -
Add a new IP address:
We go to Smart Hub, we stand on any application
Press the center button of the remote control cross and hold it until the pop-up menu appears.
In the menu that appears, select: IP Setting, then a window for entering will appear, Enter the IP address of our service for installation 46.148.26.227
Holding down the same button again, we call the Synchronization Menu again and select the item Start User App Sync.
Next, an inscription will appear about the request for custom applications from the server and they will be installed.
- On devices with models below J5500 – installation is the same as for H series (2014)
- For devices with models J5500 and higher with firmware version higher than 1400 – installation should be performed using our DNS for Tizen platform
-
Installation only via USB storage and only on devices with firmware no higher than 1400:
Prepare a USB-Flash drive, format the partition in FAT32.
After successful formatting, create a userwidget folder
Load the widget into the folder MyMagic TV.zip
USB-Flash is ready, it remains to connect it to the TV.After connecting the USB-Flash, the Smart section of your TV should be open on the TV, your TV will detect USB-Flash and the installation of applications will automatically start, at the top of the screen you can watch the progress of installing the widgets. -
After successfully installing the widgets, go to the My APPs section and you will select the application you installed.
- Install Afreeca TV.
- We go into the TV, go settings / network / DNS network status / change to
46.148.26.227) - Save, exit, restart the application and enjoy ))
- The PC from which the widget will be installed and the TV must be connected to the same home network.
- Download the archive with the installer program (DOWNLOAD), or a self-extracting archive with an installer program (DOWNLOAD)
- Disable for a while the firewalls and firewalls of your PC that can block network connections.
- We unpack the archive to the hard drive of your PC, the self-extracting archive will unpack the files to the directory by default c:\OnlineottTVTizenInst\
- We find in the folder where you unpacked the contents of the archive for installation, the file MyMagicTVInstallTizen.exe, right-click, and select “Run as administrator”. If you use a self-extracting archive, then the program will start automatically after auto-extracting.
- Then follow the instructions given in the installer window.
- After the end of the installation process, it is advisable to reboot the TV on power (Unplug from the outlet, press the POWER button on the remote control several times, plug it into the outlet and turn it on as usual with the POWER button from the remote control)
- If everything was done correctly, then in SmartHub in the MyAPPS section there should be a MyMagic TV widget, which you can pin to the main screen in the widget feed
- Do not forget to enable again the firewalls and firewalls disabled at the beginning of the installation
ATTENTION!!! Installation using a PC and an installer program on TVs J series (2015), with models J5500 and higher and firmware versions higher than 1400, Possible, but after restarting the TV, it removes all widgets installed in this way. Therefore, for such TVs, use only launch through our DNS server.
For “advanced” users who are able and willing to independently install the widget in developer mode through Tizen Studio: Directly the Widget itself can be downloaded. What to do with it – you yourself know. Who does not know – does not suffer and enters through the substitution of DNS or install from a computer.
Option number 1
- Install the widget – one of the donors of the application IziTV, Smart – STB, Smartup, IPTV Portal, SS IPTV, IVI
- We go into the TV, go settings / network / DNS network status / change to 46.148.26.227)
- Save, exit, restart the application and enjoy ))
Option number 2
-
Browsing on the webOS platform through our widget.
1) Installing the official application “Media Station X”
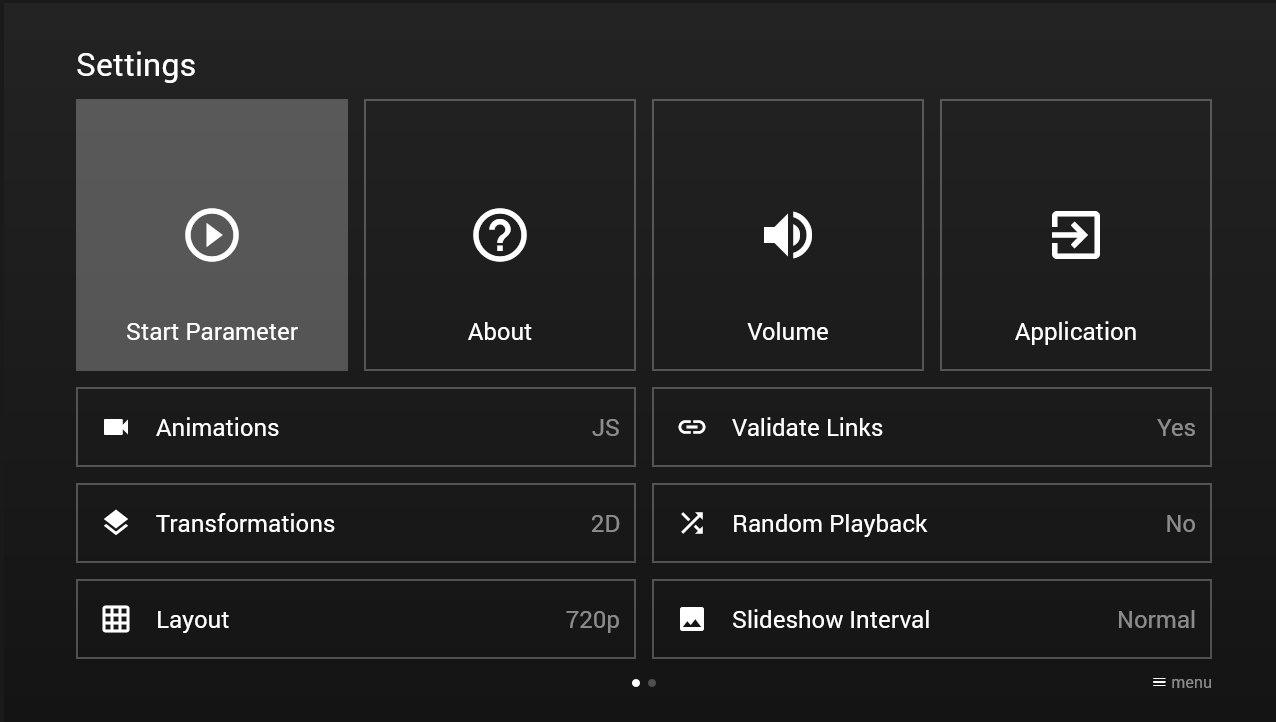
2) Launch it, go Menu-> Settings-> Start Parametrs-> Setup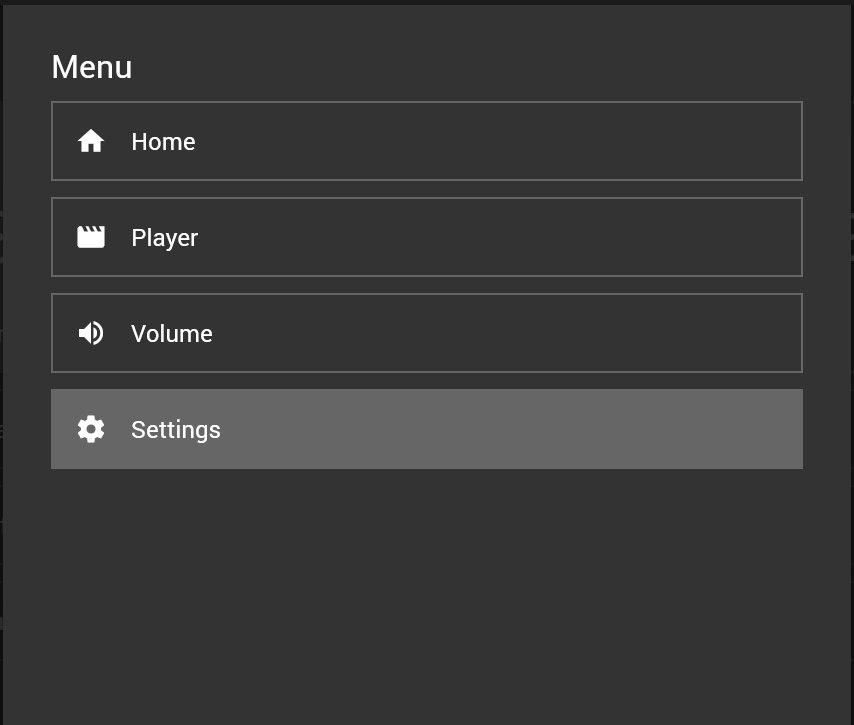
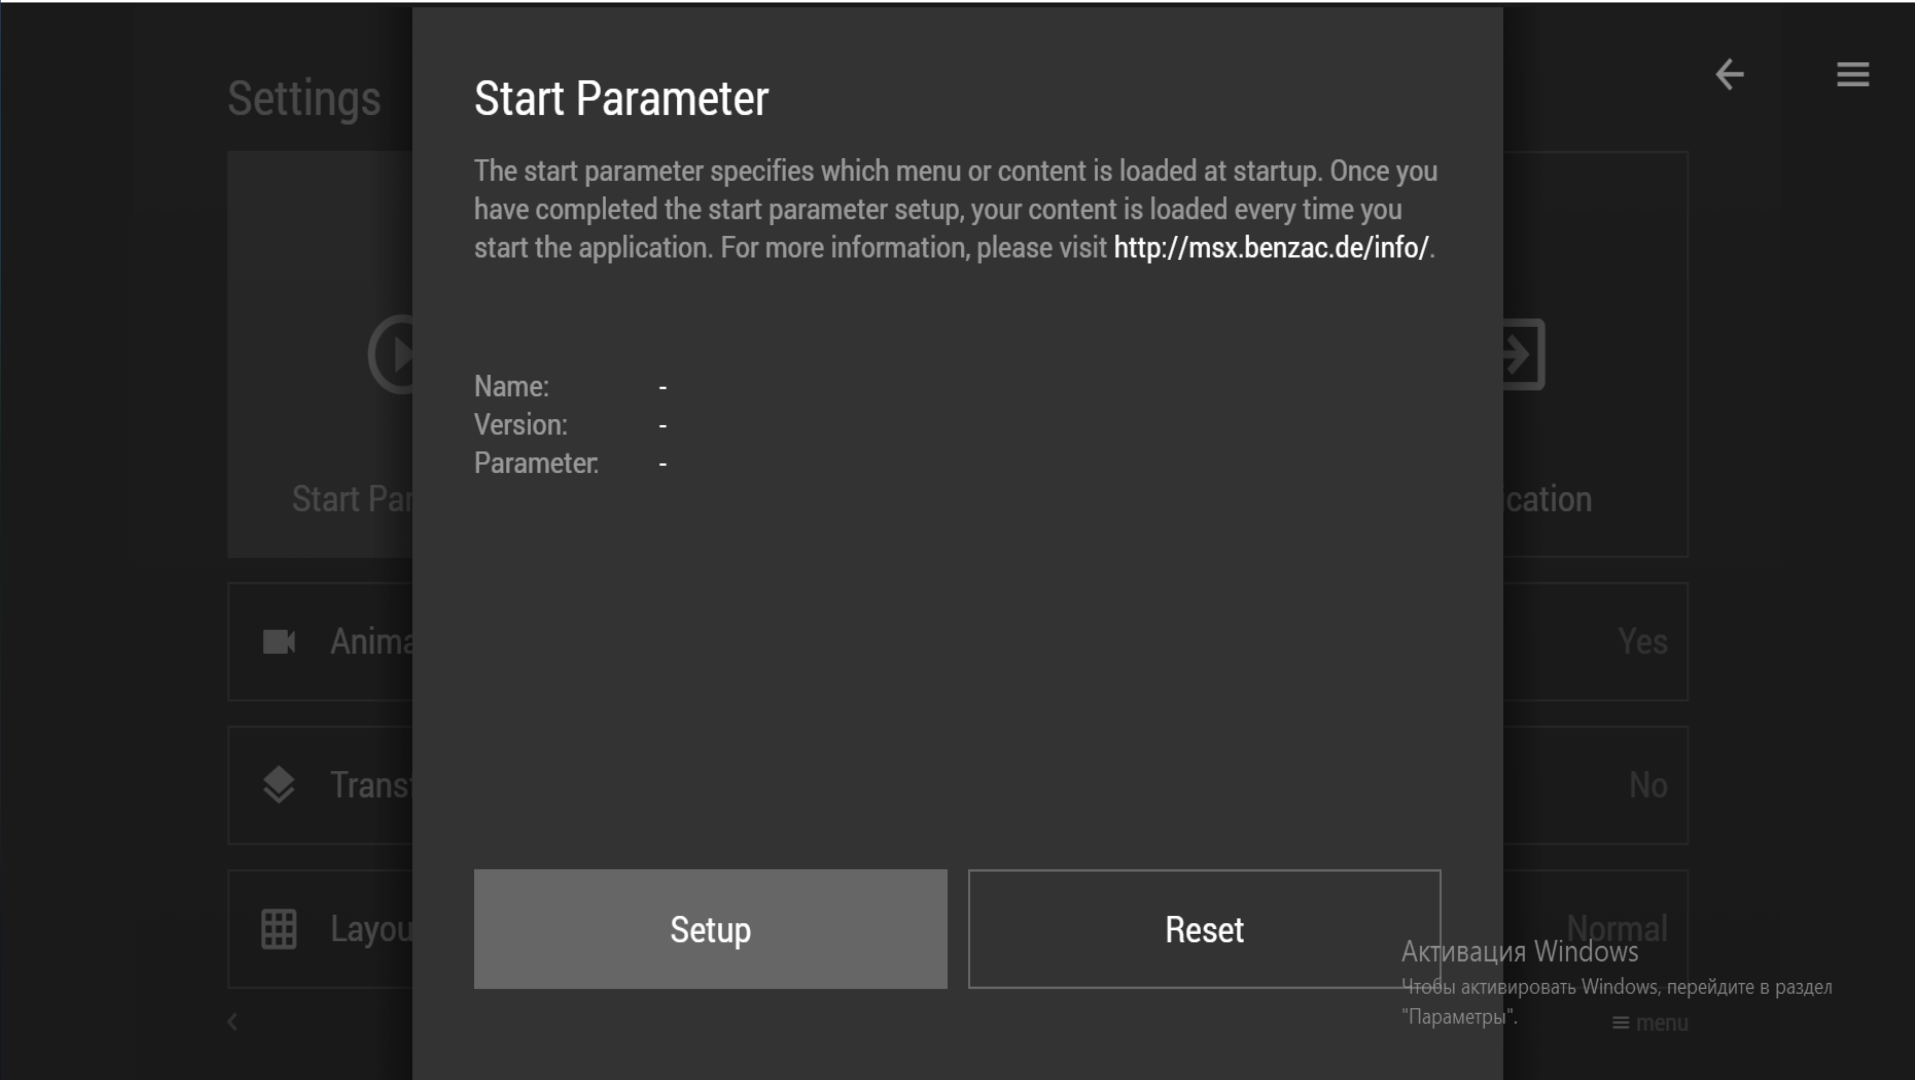
— prescribe the address of the portal stb.mymagic-tv.net

— click the checkmark in the lower right corner of the virtual on-screen keyboard
— Complete Start Parametr — we answer Yes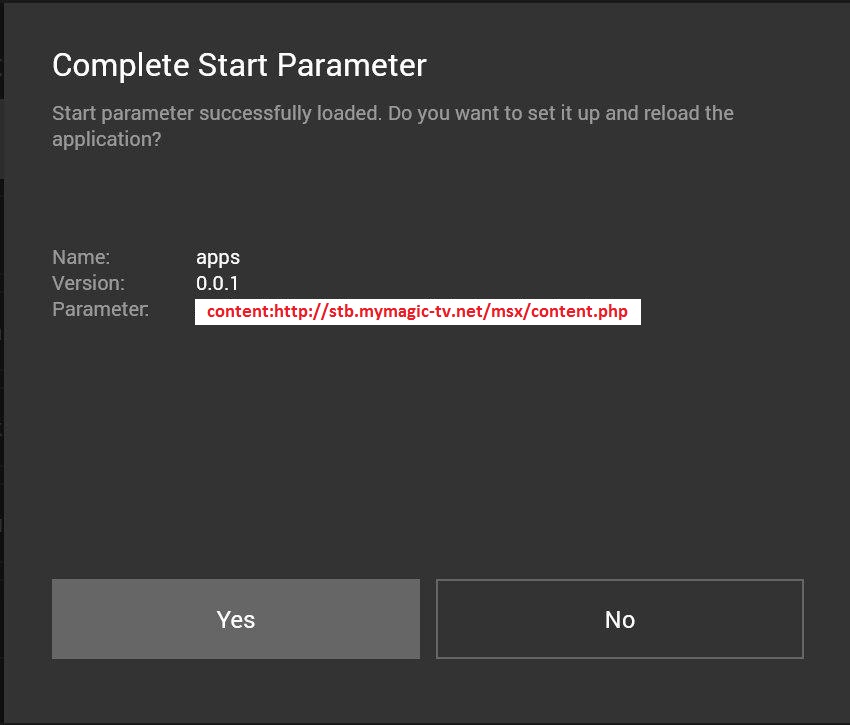
3) If everything is done correctly, the program will display the shortcut “myMAGic. tv ”, launch it.
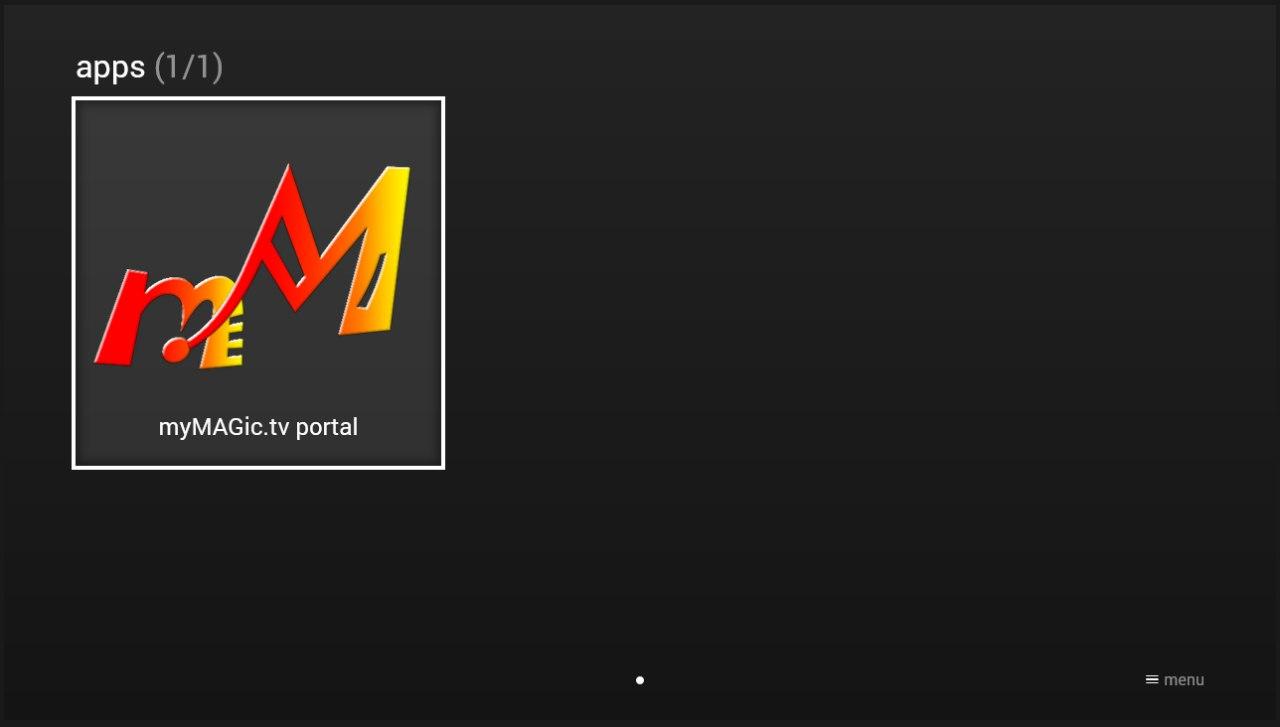
4) In the future, to start, you should launch the application “Media Station X” and select and launch “myMAGic.tv”
After the settings, a test period for one day of viewing will turn on. At the end of the test period, contact the online chat to activate the service, you can also do it yourself on the payment page. After payment, the service is activated automatically!
Enjoy your viewing !!!!
You can always ask any questions to our technical support, in the online chat on the site or by writing to us by mail support@mymagic-tv.netClick on the table cell to view the instructions
